Basic Relief Printing Process
Step 1, Drawing and transfer to the block
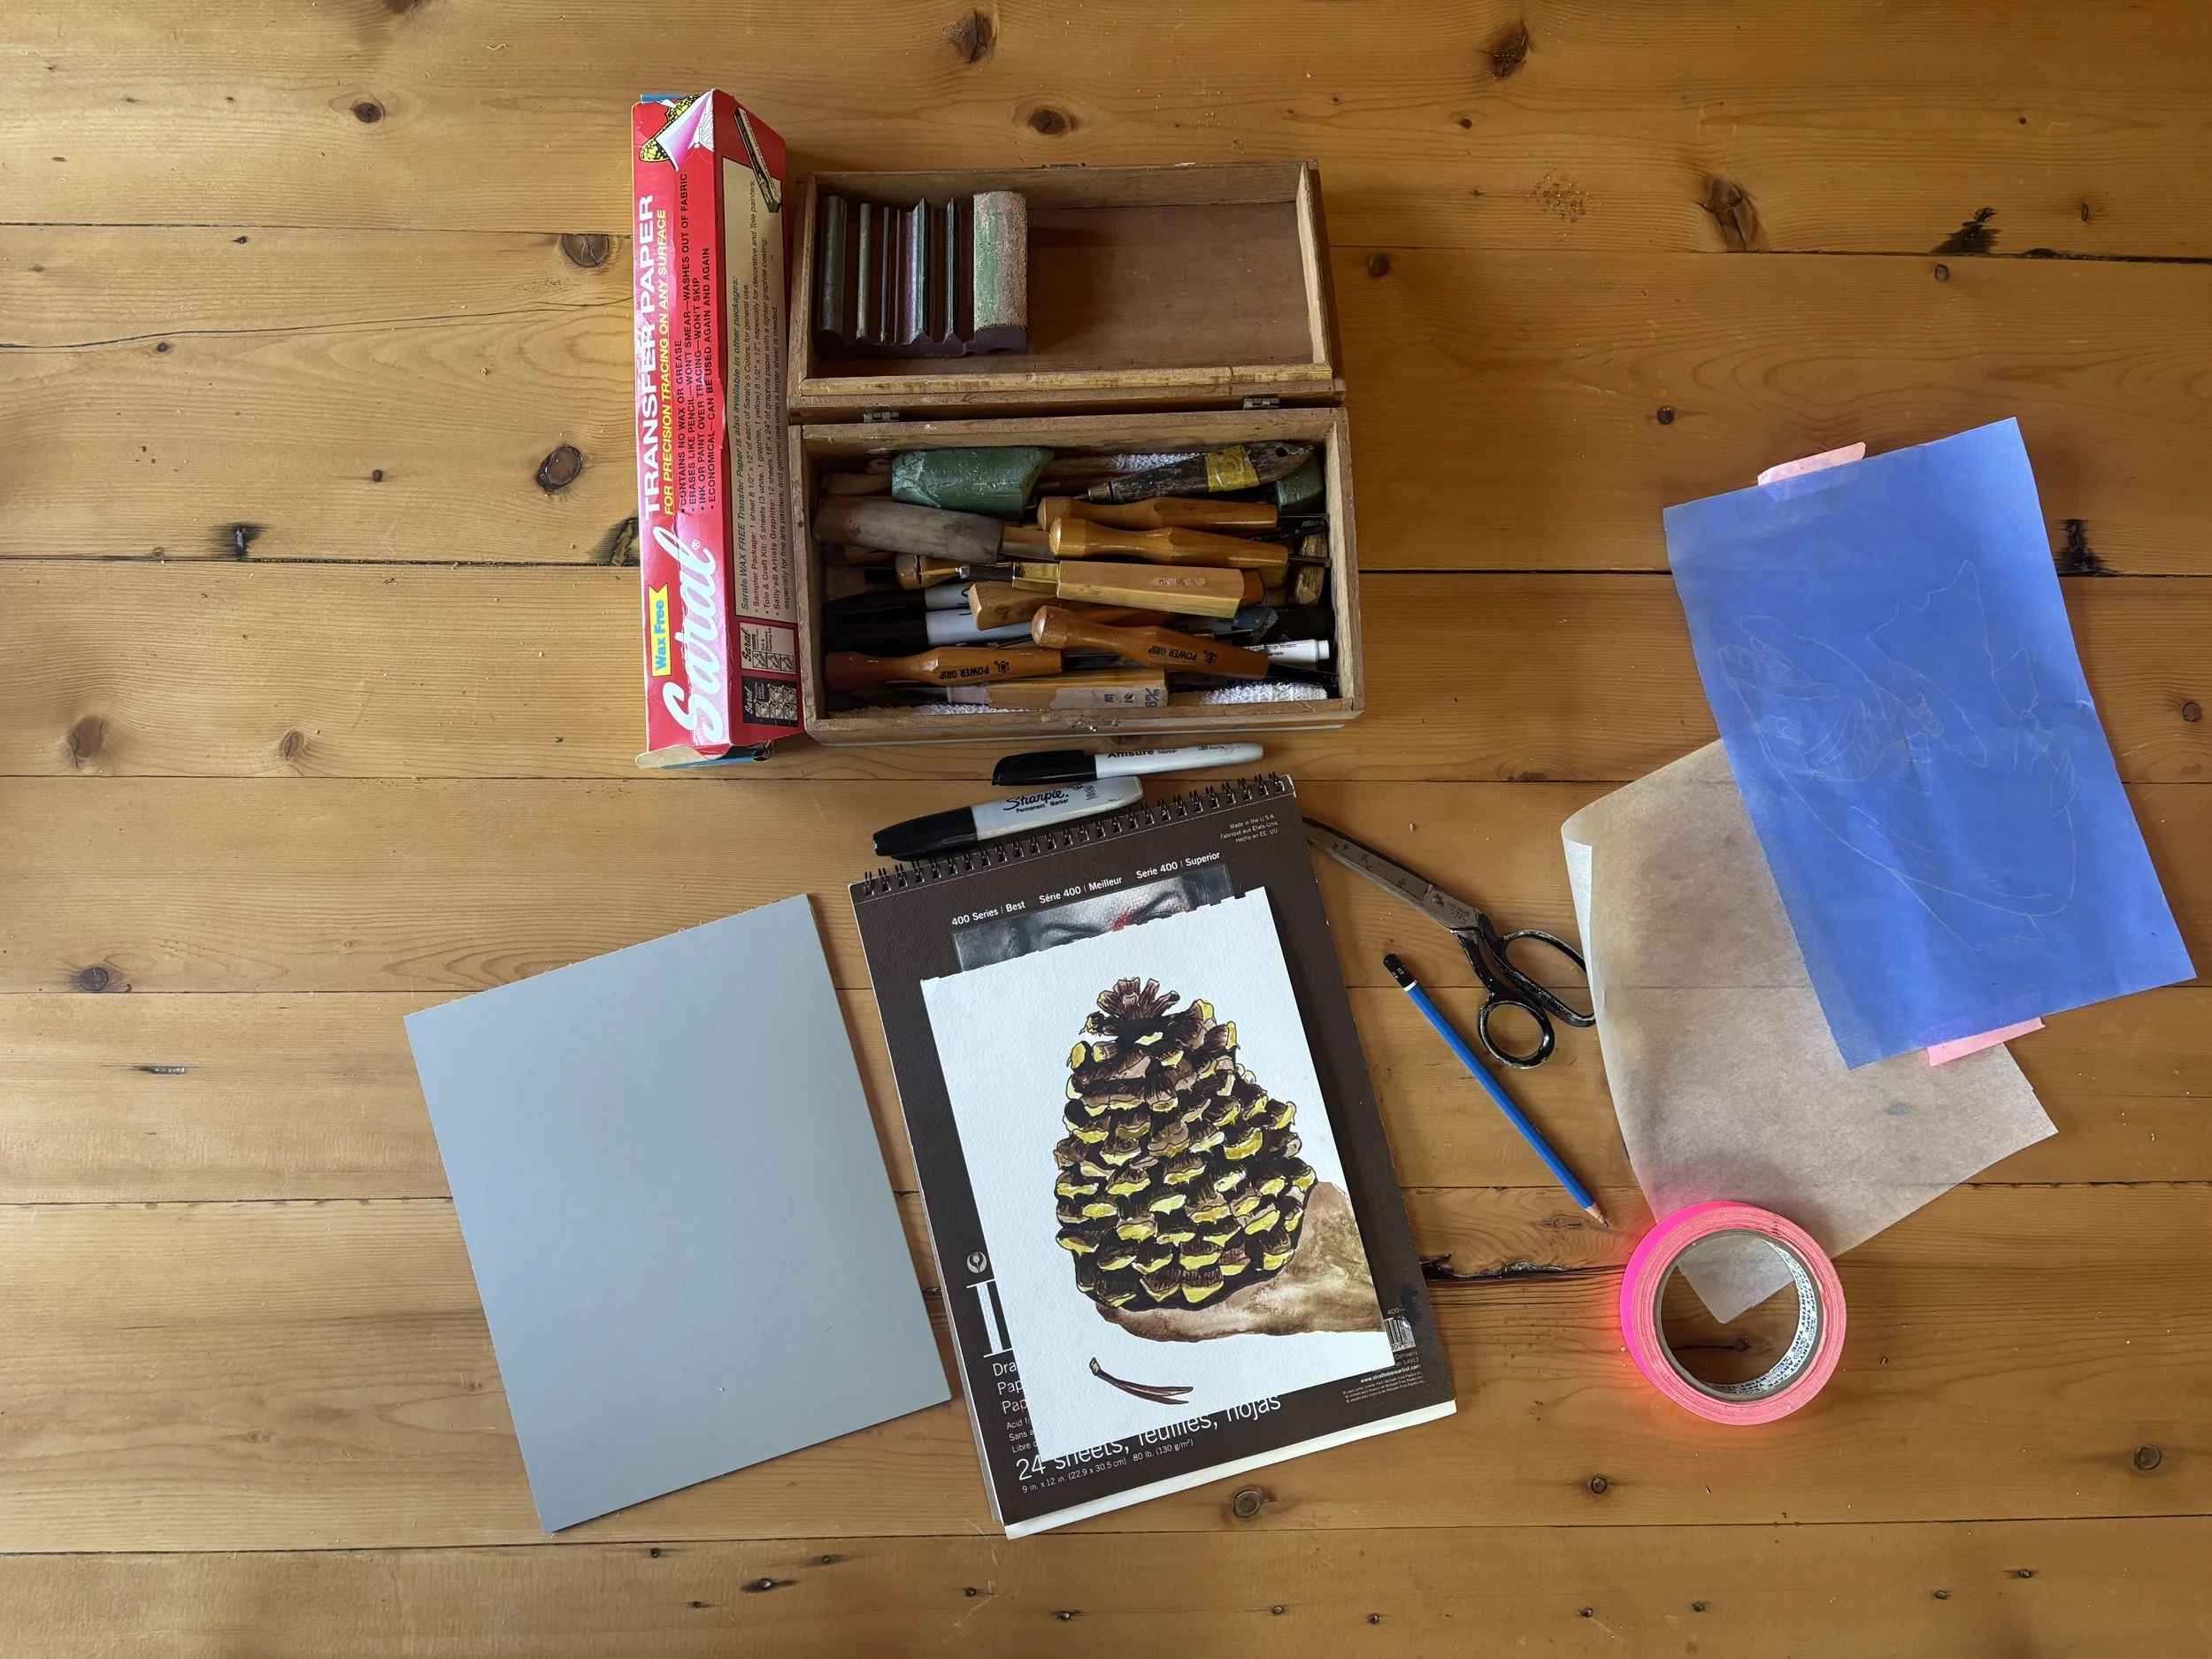
Create the initial image, committing the drawing to paper. Sometimes I create a watercolor as my initial sketch. Then, I transfer this image to the woodblock or linoleum block. This is a process that has been used all over the world for hundreds of years. The first woodblocks in their most ancient form date back to around 250 BCE in China, with woodblock being introduced to Japan around the 8th Century and being introduced to Europe around the 1400s.
Step 2, carving
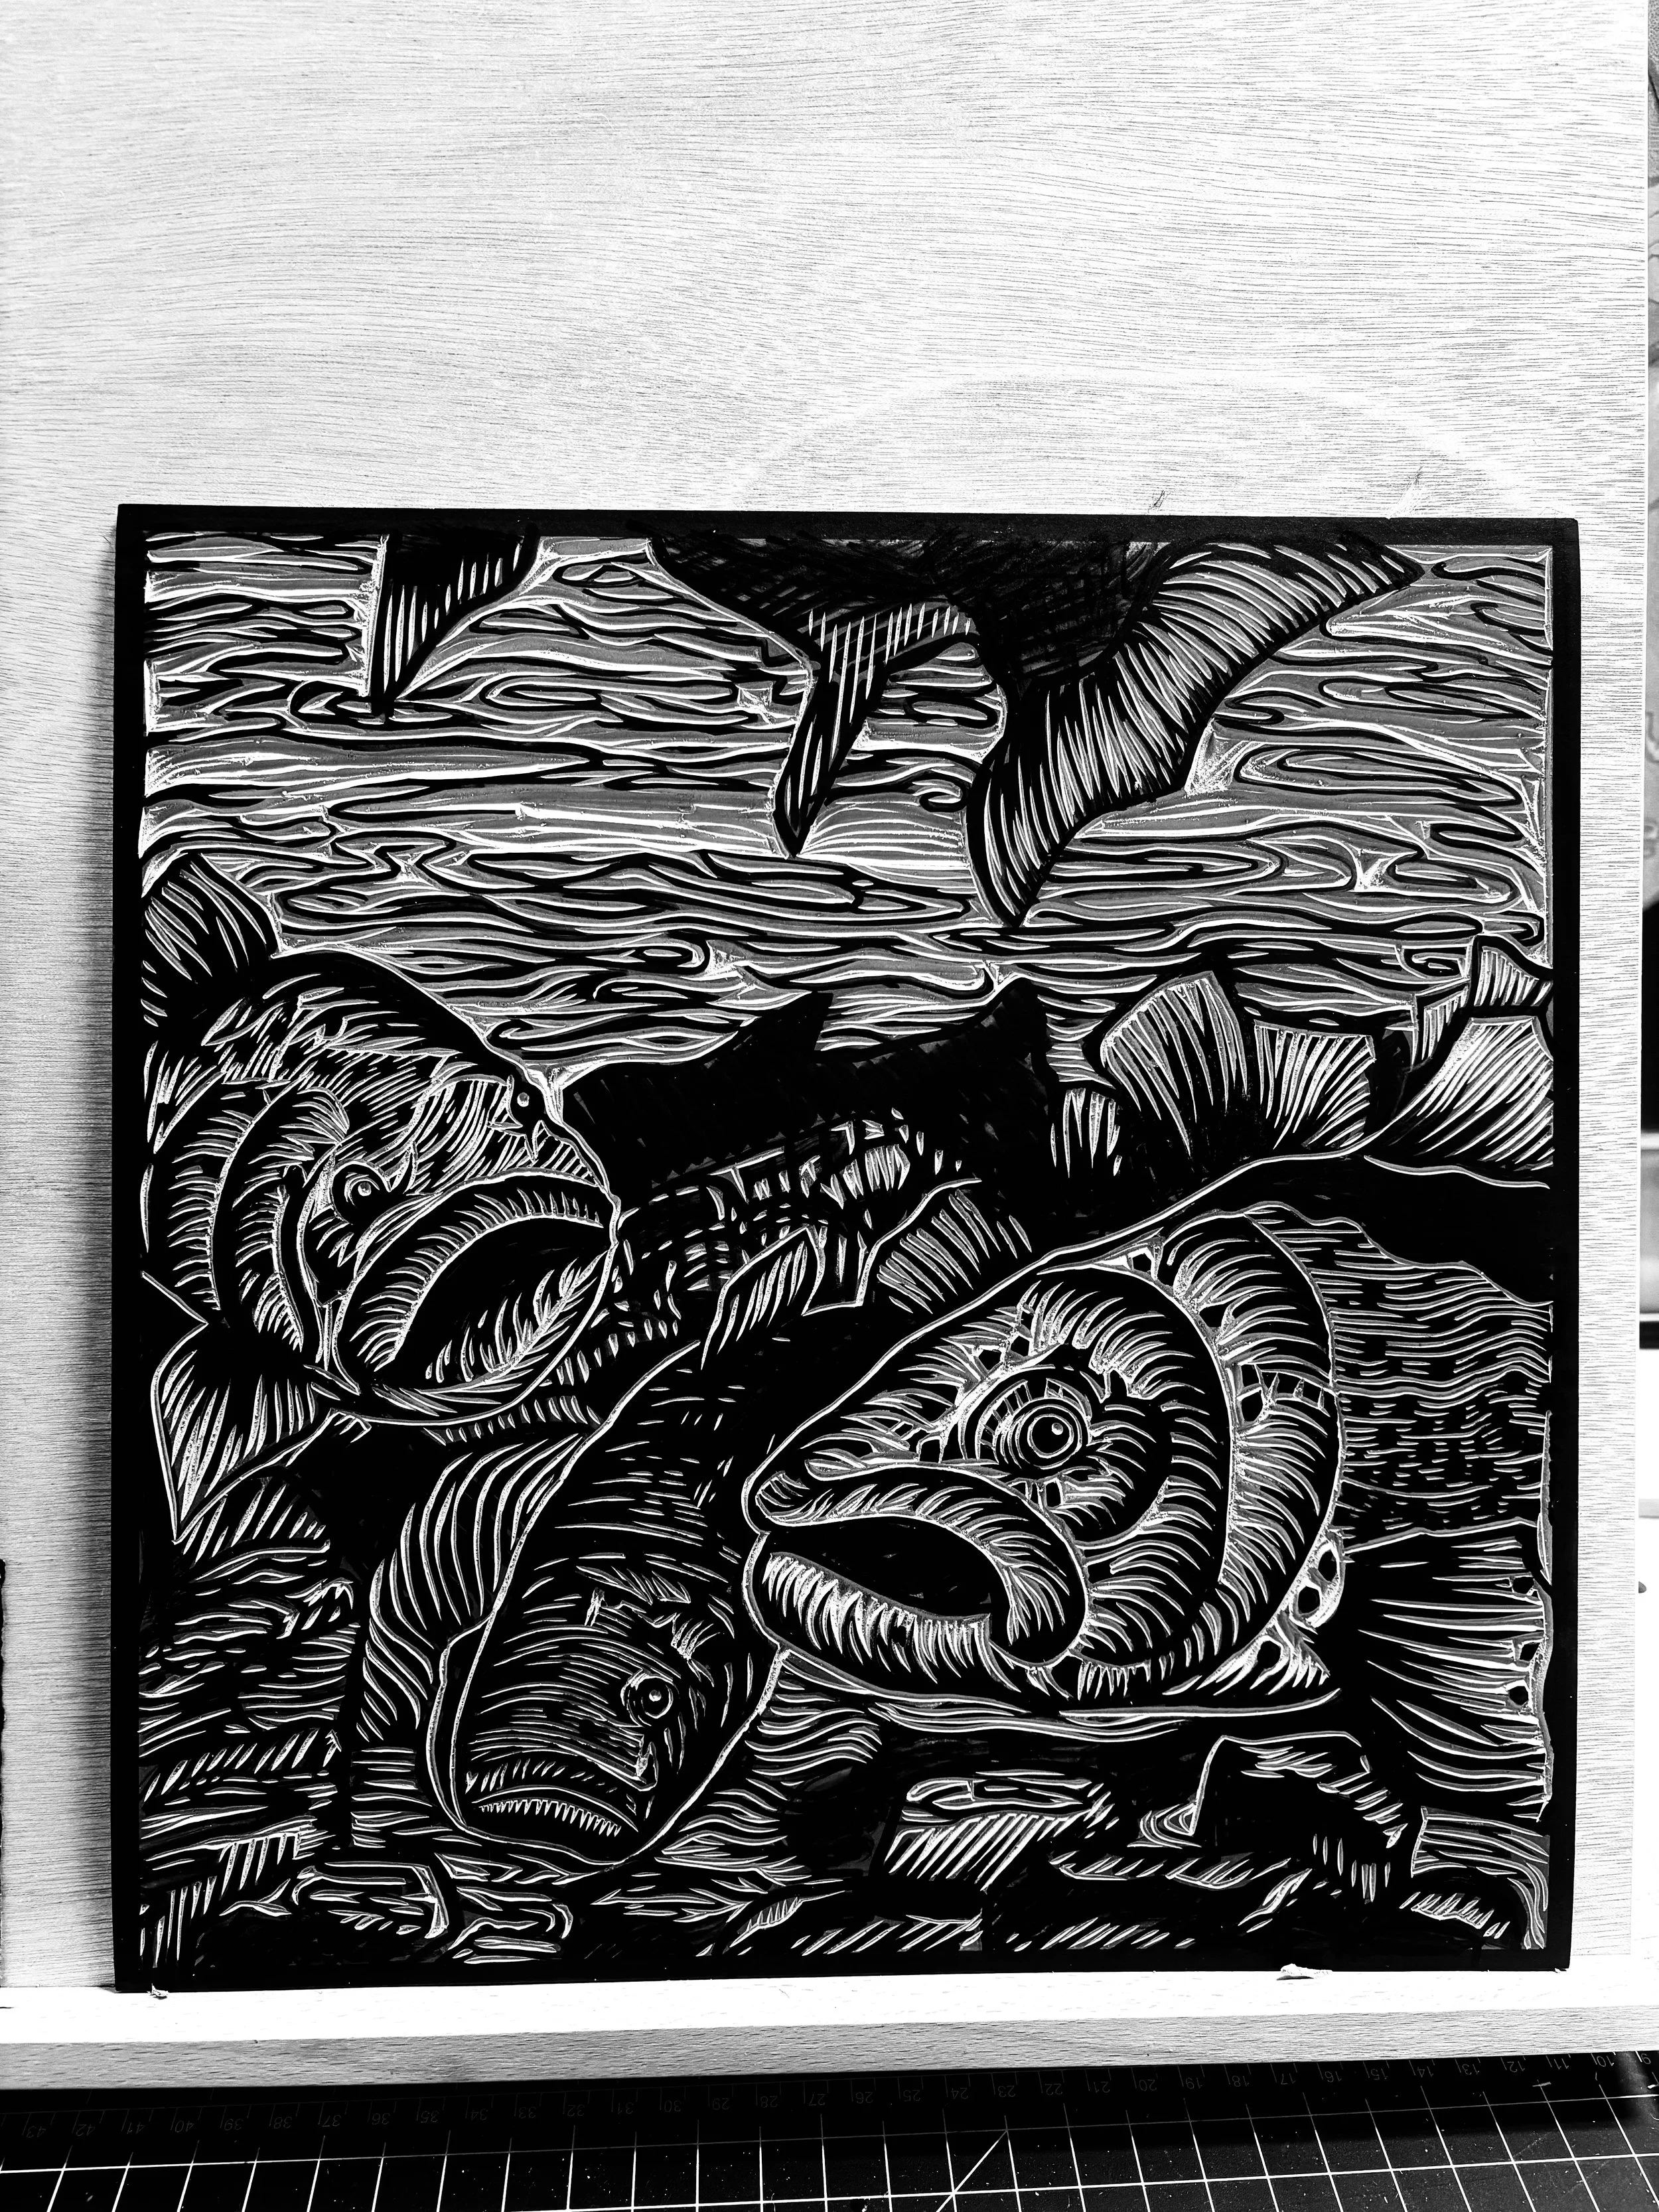
Carve the woodcut/linoleum cut with hand tools. The carving process can also serve as a “drawing” process. This is a reductive process where you remove material with your tools. Take away as little or as much as you want. Modern carving tools are sold by brands such as Power Grip and are in the shape of small “v” and “u” shapes. These are used to create the image.
step 3, printing
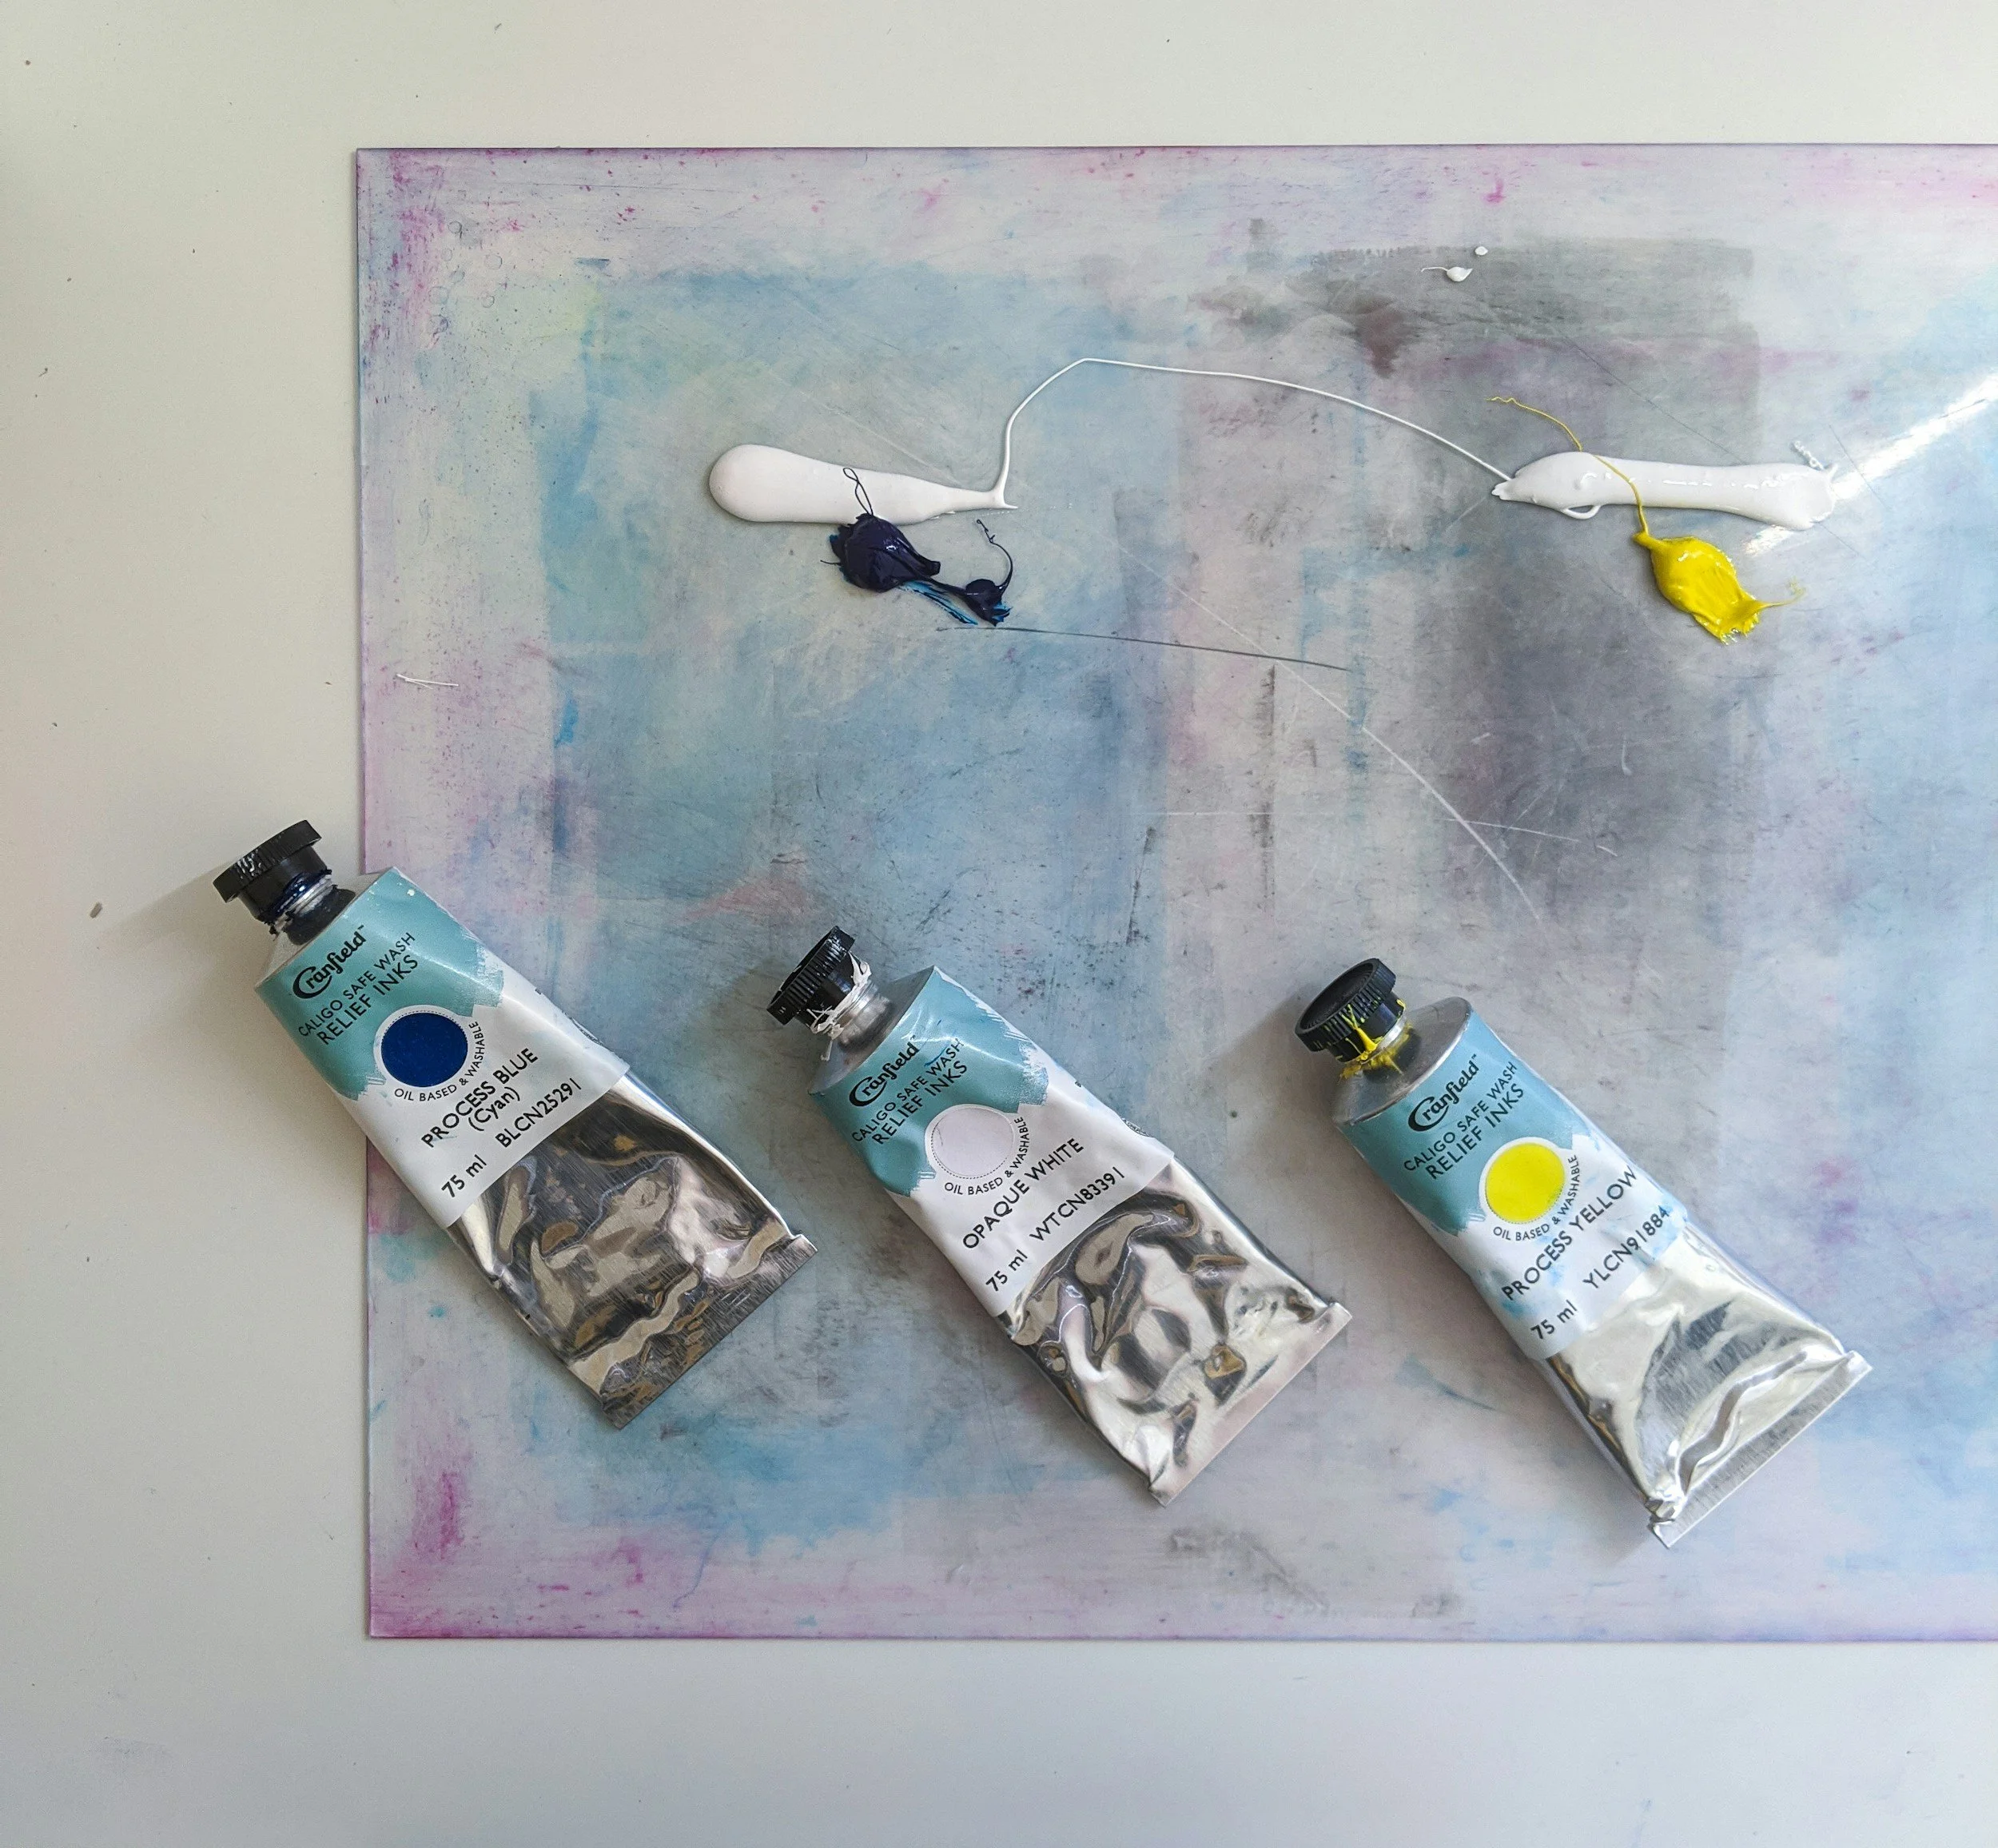
Print the relief cut using a brayer and printing press. There are many methods for printing relief prints but in my studio I do everything by hand on an etching press. I ink the block with traditional relief ink (I use Gamblin and Cranfield Caligo Inks) and print the blocks onto archival paper. If stored correctly this works on paper will last a lifetime. It’s my mission in life to get handmade prints into the hands as many people as possible! I love sharing my passion for truly handmade items. No computers or AI in the art studio!